
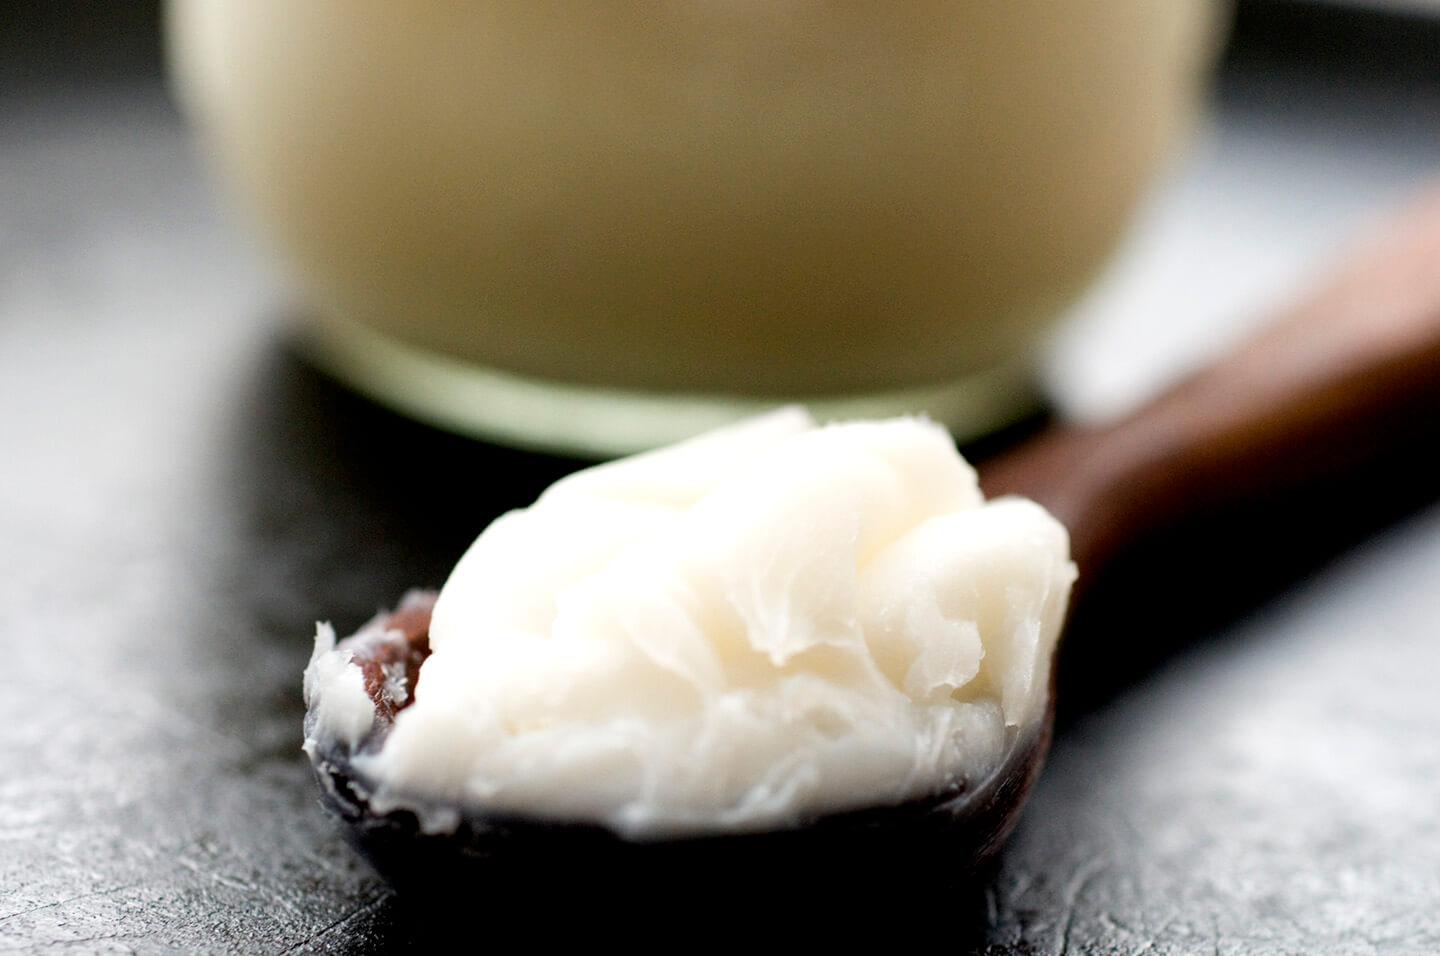
How to render lard
Lard. I have to admit that for most of my life that I’ve been terrified of the stuff. Be it schoolyard taunts that used the word, or the absence of it at both the grocery store and in my childhood home—I believed that it was bad news and something to be avoided.
A few years ago, I embarked on a quest to teach myself how to make flour tortillas. The first recipe I found listed lard as a key ingredient. I was scared at first, but I sought out a pound of it as my love for flour tortillas triumphed over my fear of pig fat. And while that initial foray into flour tortillas proved futile, I did discover that lard isn’t so bad, in fact, often it’s my preferred fat of choice.
People think that cooking with lard will make everything taste of pork, but this is not true; its flavor is neutral. What it does, however, is create incredible texture and structure. With lard, you’ll fry chicken that is both moist and crisp. With lard, you’ll make a tender pie crust that flakes. With lard, you’ll make airy French fries that crunch. With lard, you’ll cook refried beans that caress your mouth like velvet. With lard, you’ll steam tamales that are soft and fluffy. And with lard, you’ll bake ginger cookies that snap.
But the best thing about lard is that it’s not bad for you. It has less saturated fat (the bad fat) than butter, while it also has more than twice as much monosaturated fat (the good fat) than butter. And it has none of those pesky trans fats—that is, if it hasn’t been hydrogenated to prolong its shelf life.
And that, my friends, is the problem. Most lard you find at the grocery store has been hydrogenated to make it shelf stable indefinitely, which robs it of its good qualities. Some butchers will sell freshly rendered lard that has not been hydrogenated (clue: if it’s not refrigerated than it’s not the good kind of lard), but it’s also quite simple to render it yourself.
For years, I heard stories about how difficult and malodorous the lard-rendering process was. My opinion changed, however, after a visit to my grandparents’ farm last August. As we were looking through old family albums, I found a fantastic photo of my great-grandfather standing outside stirring a large cauldron with a long stick. The caption? “Dad rendering lard. Dec. 1940.” It seems that lard was the fat of choice for both my grandparents growing up, and when I looked through some old family recipes, I saw that indeed many of them called for that fat.
When I returned to New York I decided it was time to render my own lard. And after a visit to the Union Square Greenmarket to pick up some pig fat, I was well on my way to being in hog heaven.
If you’ve never rendered lard before, trust me, it’s very, very easy. And the best thing is that when you’re done you can look at your supply of white, luscious fat and have a blast dreaming of the culinary possibilities each jar contains.
How to render lard
Ingredients
- A pound of pig fat, either leaf lard or fat back
- A big pot
- A lard stick or wooden spoon
- Water
- 2 pint-sized Mason jars
Instructions
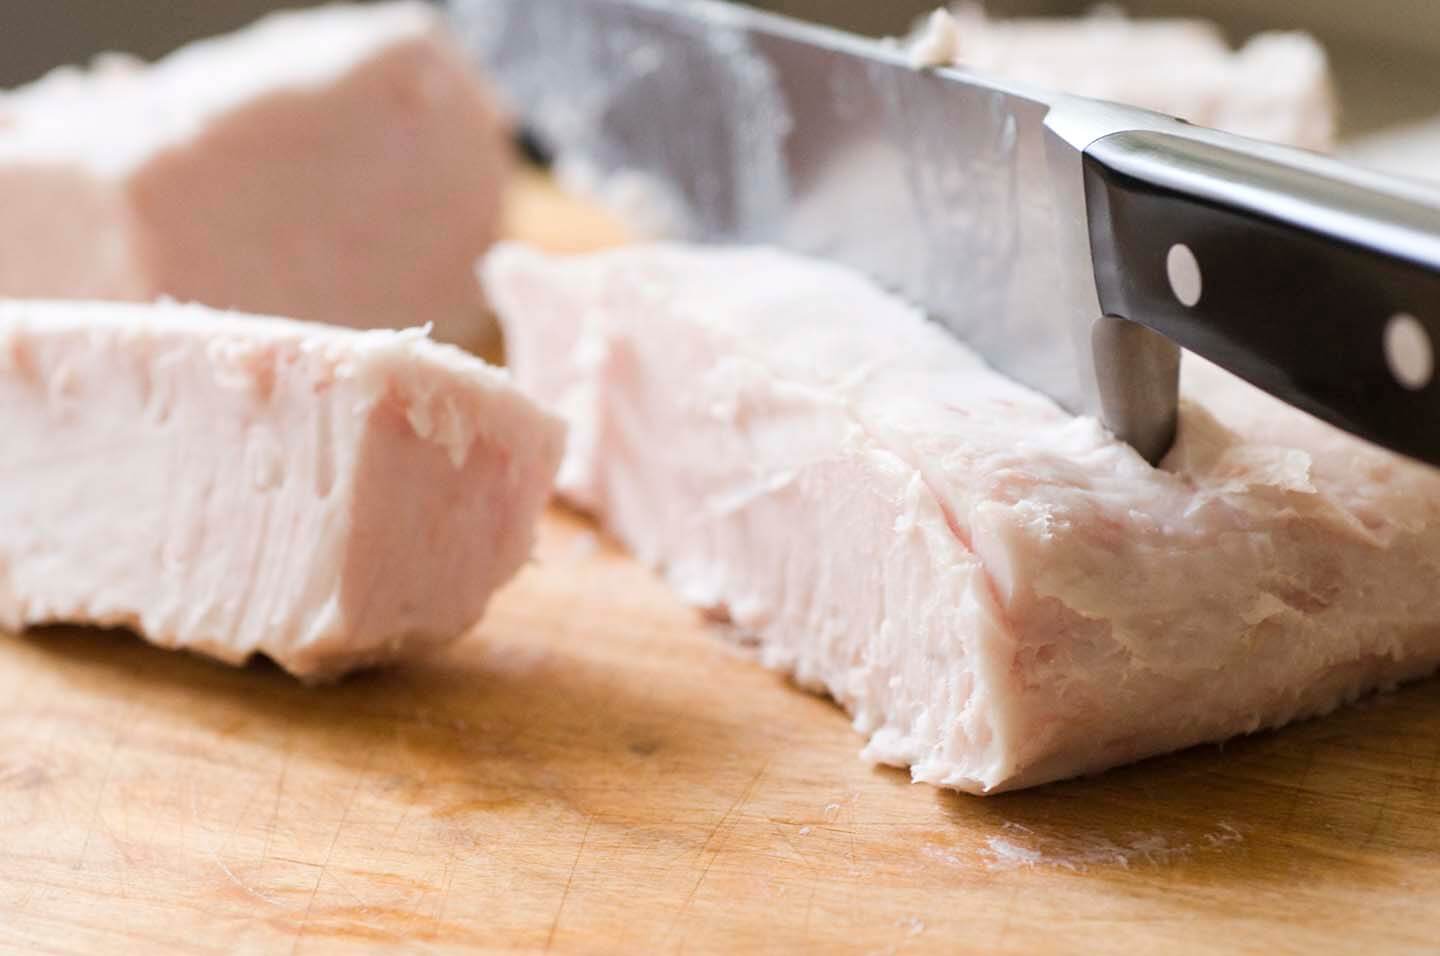
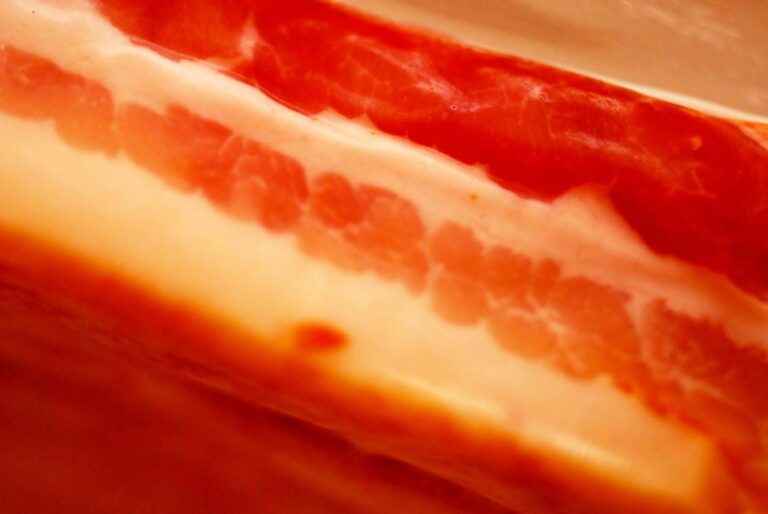
- After buying your fat, preferably from a farmer or butcher that treats its hogs humanely, chop it up into little pieces. Before cooking, I advise that you open you kitchen window.
- In a Dutch oven or heavy, large pot, add about a half of a cup of water to the pot, and then add the cubed fat. On the stove, heat the pot on medium low, stirring occasionally (every 10 minutes).
- After the fat starts melting (about an hour), you’ll hear some very loud pops. Do not be alarmed—that is just the last gasp of air and moisture leaving what will soon become cracklings (little fried pieces of pork). Now is the time to start stirring more often.
- Soon after, the cracklings will start floating on the surface. Keep stirring frequently, but be careful—you don’t want the fat popping out of the pot and burning you. When the cracklings sink to the bottom, the lard has been rendered.
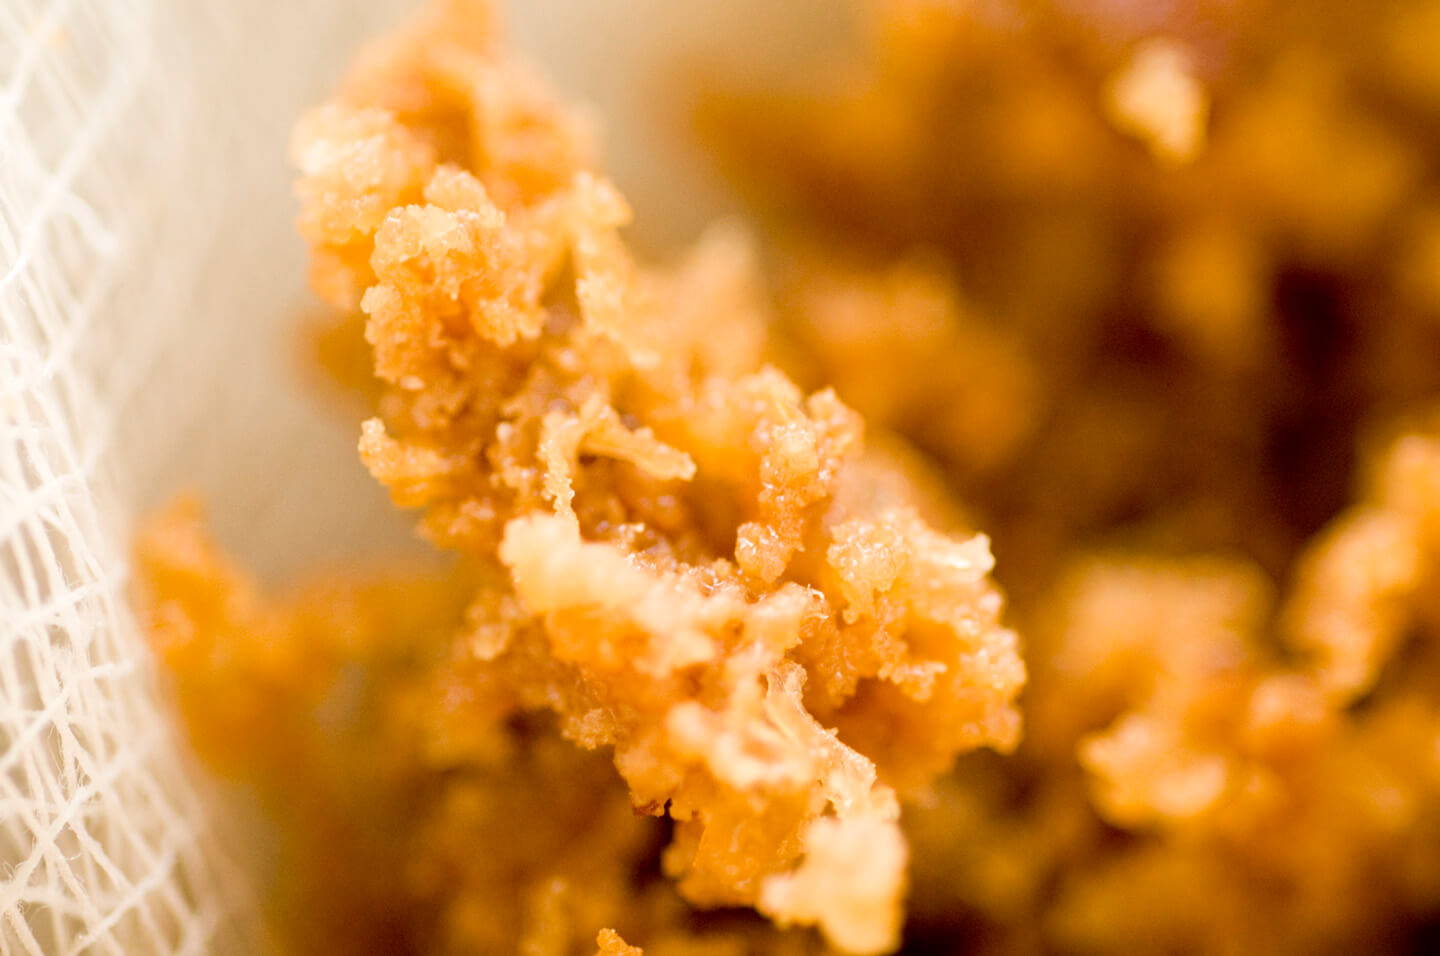
- Let it cool, and then pour it into containers through a colander or strainer lined with cheesecloth. The cracklings will be left behind in the cheesecloth and these make for a fine, fine snack, especially sprinkled over salad if that’s not too perverse for you.
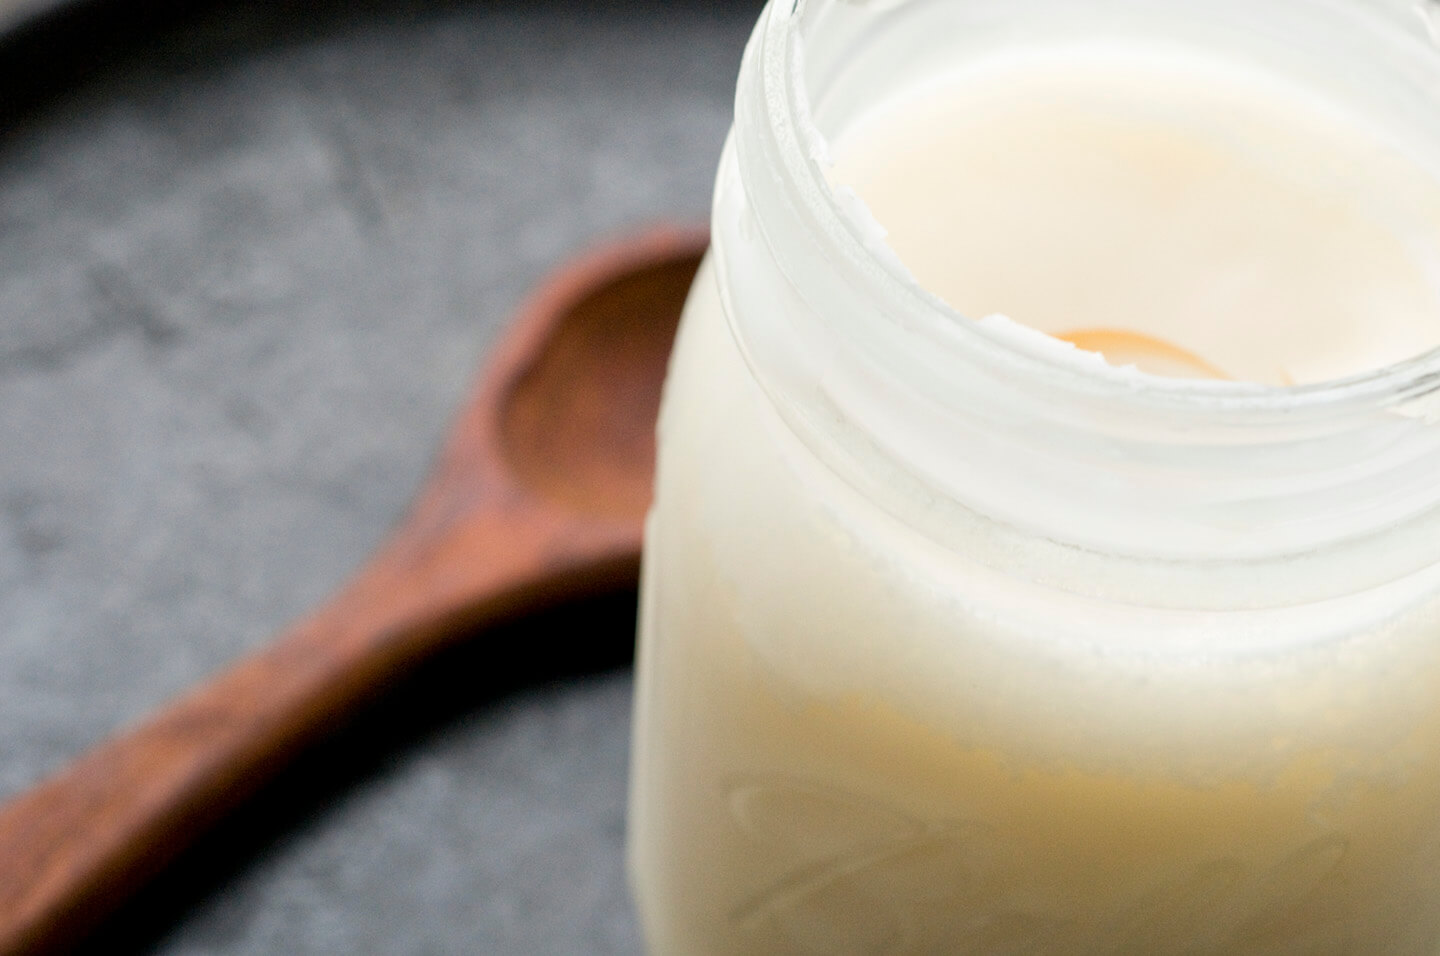
- The lard will be a yellowish liquid. This is what it’s supposed to look like.
- Refrigerate it overnight and when it solidifies it will turn white. It will keep in the refrigerator for about 3 months, and the freezer for up to a year.

Lisa, I’m so glad you wrote this post! I’ve been reading for the last couple of years that lard is finally crawling out from under it’s bad rap. As usual, it’s not the original product that is terrible, it’s the processing that makes it a killer. My grandparents used lard too, and I’ve always known that lard is best for pie crusts and deep frying. But the problem has been that most readily available lard has been hydrogenated and the natural stuff is hard to find and expensive! I’ve been thinking about rendering it myself ever since reading about it in Food and Wine but haven’t actually tried it yet. This post was just the push I needed to actually seek out a decent butcher and go pick up some pig fat! Thanks!!
To be honest, I wouldn’t use anything but lard for so many tasty things.
I also don’t care if the fat in it is good, bad or indifferent. Lard is a great natural product.
I’m tired, tired, tired of all the crap the food police keep dishing up to us.
I’m headed for the full fat aisle in the grocery store – if I can find it amongst all the cardboard food the the fanatics would have us believe is good for us.
Great blog – I’m a fan in a New York minute.
Lisa, this is wonderful, and I have a horrible confession to make: I recently saw some other posts about rendering lard, and found out what a good fat it is, and so I decided I was gonna do it. I asked my local “meat guy” (the farmer I buy my meat and chickens from) if he could get some for me. Sure, he says, they’d probably just throw the fat away otherwise. Yay! says I. Well, he brought it—all TEN POUNDS of it. It was beautiful, and I was completely overwhelmed. It was a busy weekend, and it hardly even fit in my fridge (would never have fit in the freezer). After a couple of days I realized it was a fiasco, and I threw the fat out. How sad. Unfortunately for me, my farmer’s processor will only sell ten pounds at a time. But I can check with the local meat market; maybe they’d be able to sell me a manageable amount. Thanks for the good instructions. I’m just dying to try making tamales with (good) lard.
This is incredible – an animal fat that is healthy!
I know I haven’t had it fresh – my neighbour used to make beautiful Mexican food with the canned stuff, which scared us at the time. So it’s comforting to know the fresh is healthier.
Not that I’d ever make my own, mind you! But I can at least now share this knowledge with my friends.
Excellent post. While lard is no longer a politically correct foodstuff, I think it’s a vital link to American heritage cooking. Bravo!