Homemade cheese: queso blanco
What if I told you that making cheese required nothing more than a gallon of milk, a few limes and a cheese-cloth—would you believe me? OK, you might want to use a thermometer if you’re feeling scientific, but you don’t have to use one. Yep, with as much effort as it takes to go to the store, you can soon impress your friends with your homemade queso blanco.
After reading about Barbara Kingsolver’s cheese-making adventure in “Animal, Vegetable, Miracle,” I knew it was something I definitely wanted to try—she made it sound so easy! But as I started doing research on making cheese, I realized that there were certain ingredients I would need to make most of the cheeses I wanted to create. Strange ingredients—such as rennet, calcium chloride, tartaric acid, and mesophilic culture—that you won’t find at your local supermarket.
You can order these supplies online, but when I’m bitten by a bug I require instant gratification. And I was determined to make cheese right at that moment.
Enter queso blanco. This simple cheese doesn’t call for those other ingredients. And while the end result may not be as creamy as Brie, as smoky as Gouda or as nutty as Manchego—the end result is still recognizably cheese and a darn tasty one at that.
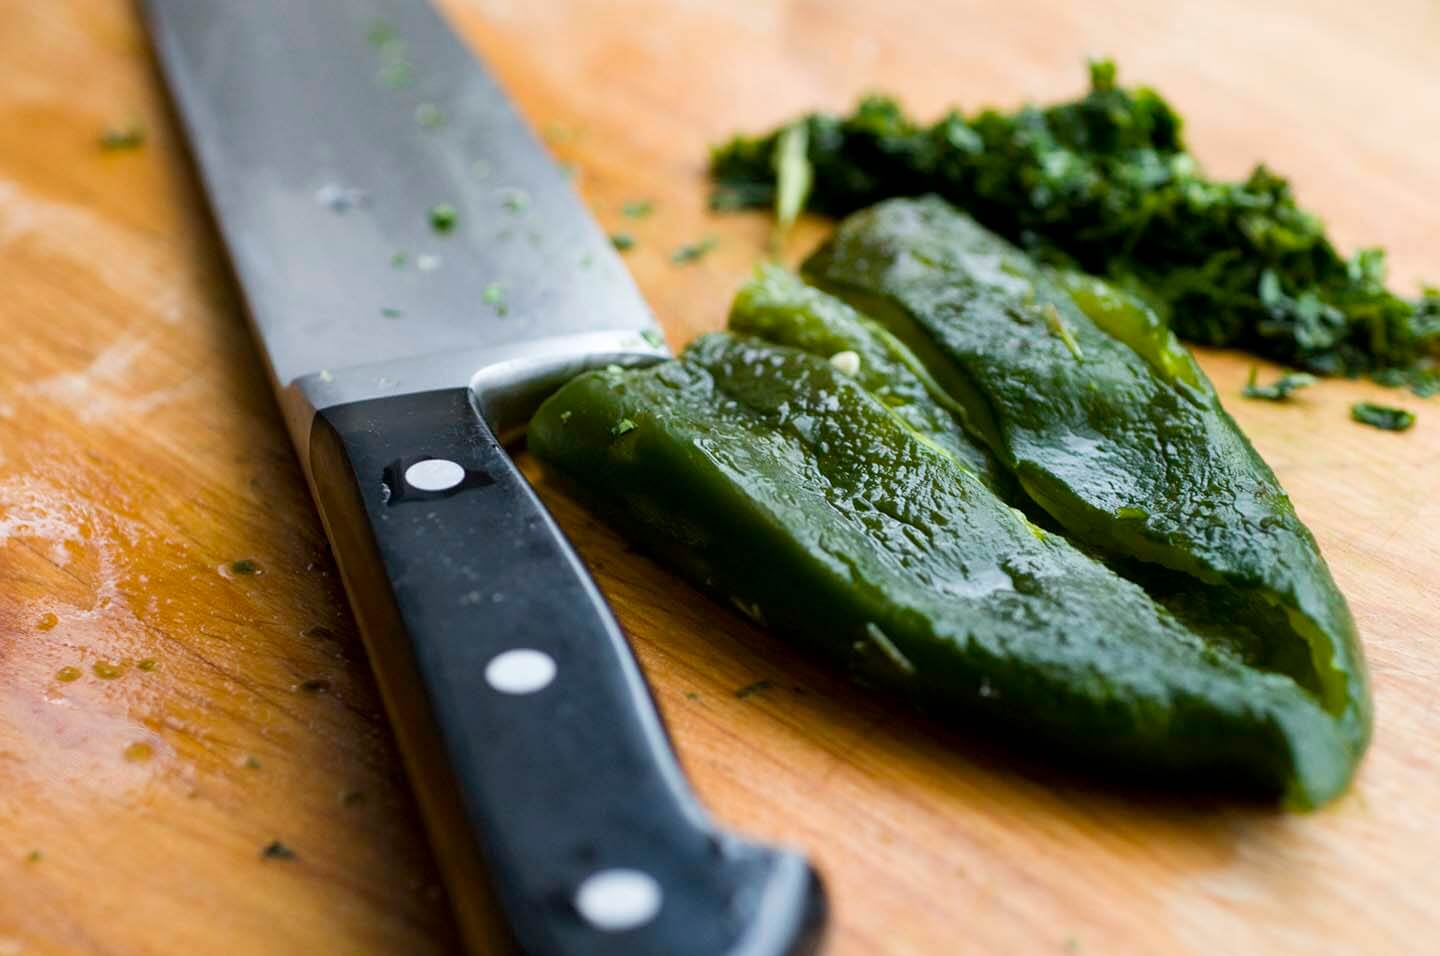
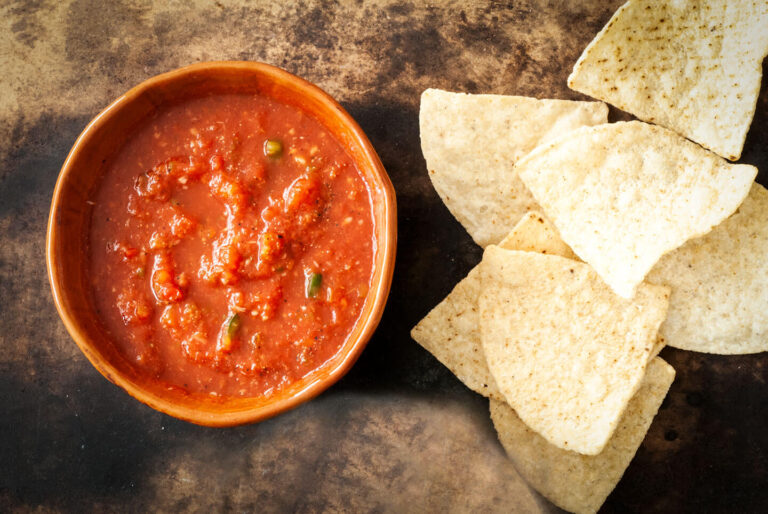
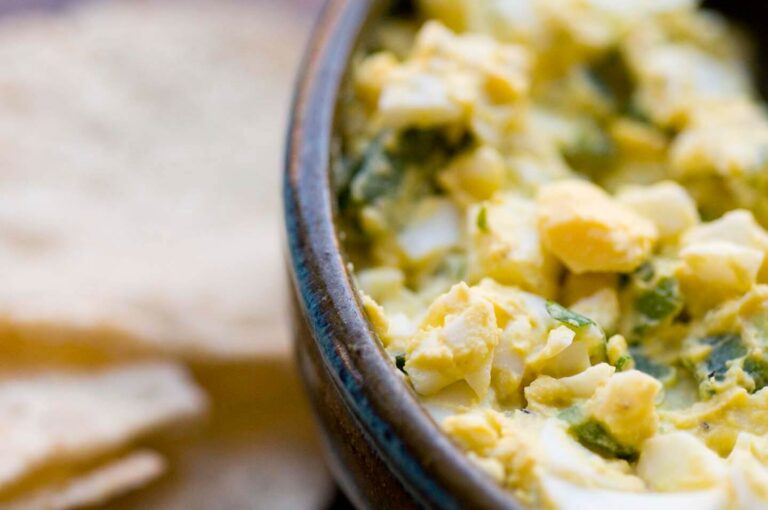
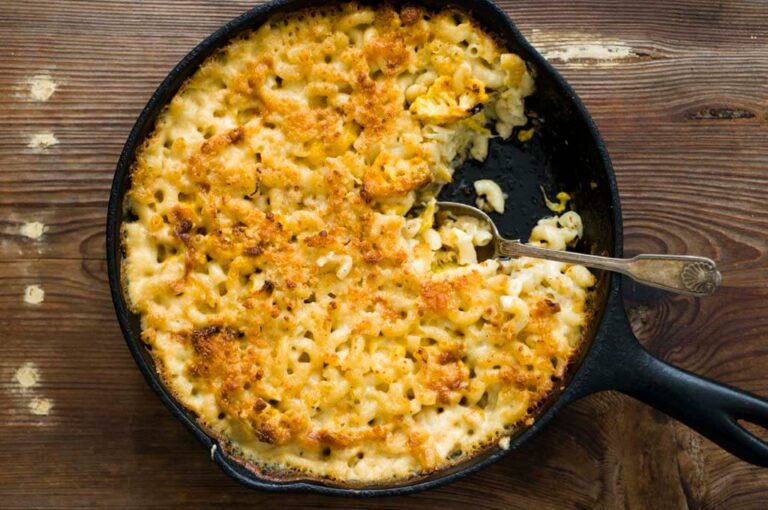
Now, queso blanco won’t melt, but you can slice it and fry it in your skillet, crumble it into your refried beans, wrap bacon around it and bake it, spread it on crusty bread or toss it with some vegetables and salsa. Because it’s not aged, it has a neutral flavor like mozzarella, but I like to add herbs, spices and chiles to punch it up a bit.
And if you’re anything like me, you’ll be completely intrigued with making cheese and will order the supplies to take it to the next level. So yes, if you were wondering, that is indeed a packet of rennet on my counter.
Queso blanco
Ingredients
- 1 gallon gallon whole milk
- 1/2 cup freshly squeezed lime juice
- 1 teaspoon kosher salt
Instructions
- Heat the milk in a non-aluminum pot on medium-low heat for about 10 minutes or until it looks like it’s just about to boil (but don’t let it boil!). If you’re using a thermometer, the temperature should be 185° F.
- Add the lime juice. The curds will separate from the whey and the mixture will look grainy, kind of like you’ve just thrown a bunch of corn meal into a pot of skim milk. Let it simmer for a couple of minutes.
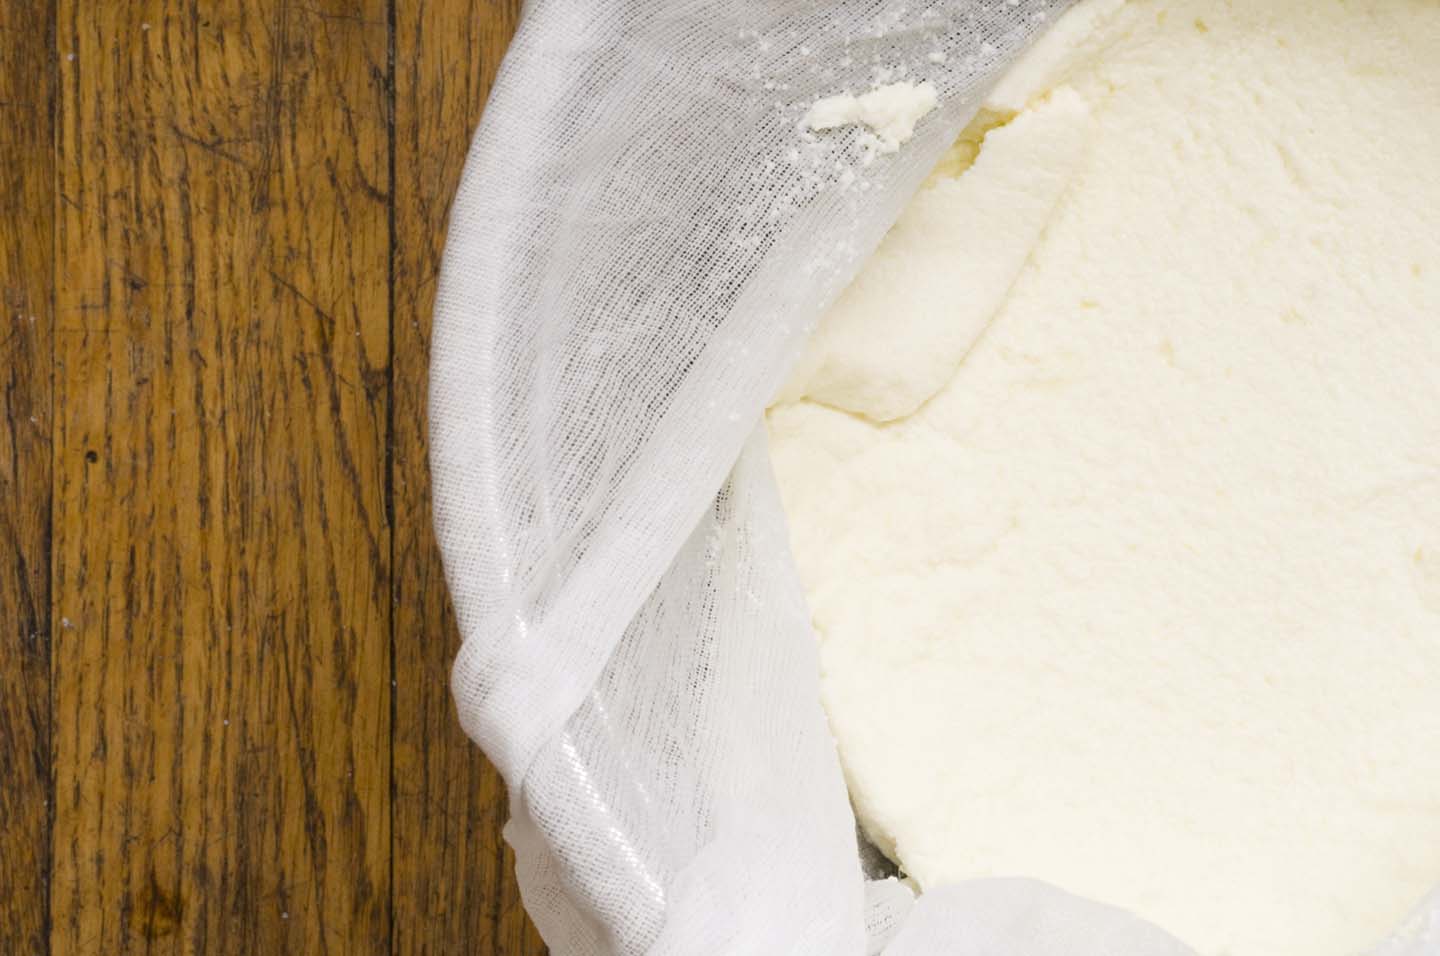
- Pour the pot’s contents into a cheesecloth-lined colander and let it drain for a couple of minutes. (If you want to save the whey so you can use it to make ricotta, feed your plants or add a bit of protein to your morning oatmeal, place the colander over a pot.)
- Sprinkle the curds with salt (you can go saltier than you normally would as a lot of the salt will drain from the cheese as it dries). Now is the time to add any herbs, spices and/or chopped chiles if you like. Anything goes!
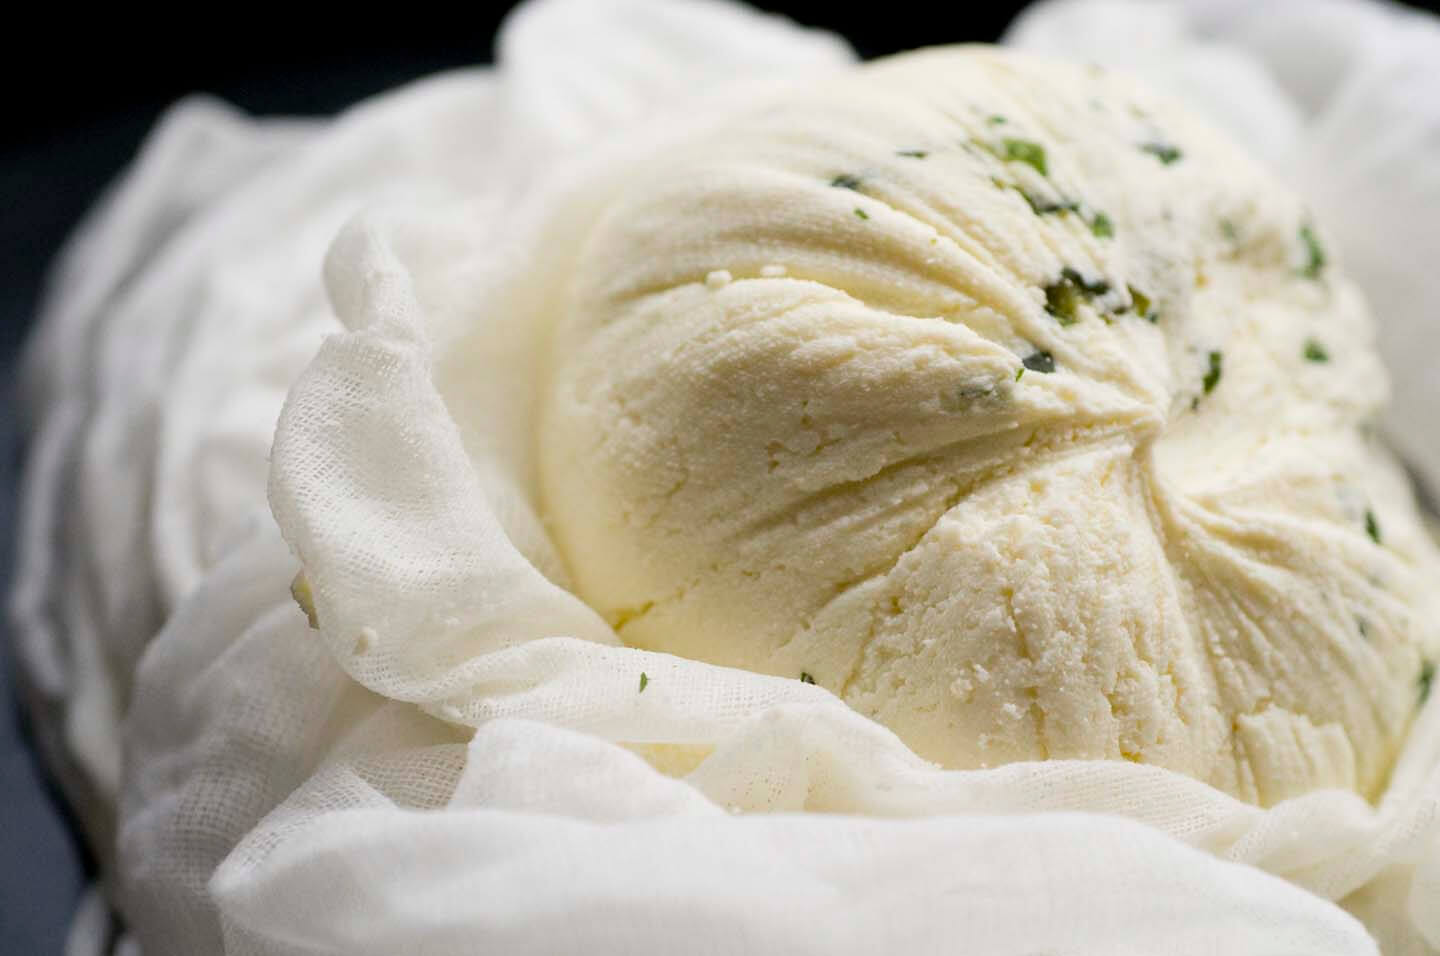
- Gather the curds in the center, tie the cheesecloth’s ends and hang the cloth on the faucet so it can drain for a few hours. I like to drain it for at least 4 hours, overnight if I’m patient.
- Untie the cheesecloth, and look at that gorgeous white ball. You’ve made about 16 ounces of cheese! It keeps in the refrigerator for as long as the milk would have kept, so please check your expiration date.


I just made a batch of queso blanco using your recipe and it turned out fabulous. From one homesick Texan to another, thanks a bunch!
Lisa, if you are not already famous, you should be! I stumbled on your blog doing a search for "where to buy beef lard" and your rendering page came up. I have been wanting to make cheese for over a year. I suffer from what I call "Life Long Chronic Fatigue of Unknown Origin" and I rarely get to do anthing I want to. With your recipe for cheese, I think I might be able to manage it. I'm almost excited and that is saying a lot! Thank you for your blog.
Tried this for the first time today — success! So easy and fun. I threw in some cilantro, parsely and jalapeno. It's really good! Thanks for the great tip.
I've always wondered about homemade cheese, but never thought of really doing it on my own. Nice to see some of us are brave enough to attempt it. I may have to enter the realms of cheese making myself now.
Thanks for this,
Colleen
Oh my goodness. I made this tonight and… I think I may die. I couldn't wait the entire four hours to see what was waiting for me in the little package, so I took it out after three. It's a wonderful cross between cream cheese and ricotta. SO delicious.
And my favorite thing about your blog is combining recipes. I also made the AMAZING bacon jam this evening. So for dinner, it was sliced tomatoes topped with bacon jam and delicious queso blanco. Thank you thank you!!!