How to cure a ham
A recent trip to the store presented me with a beautiful selection of hams, recently brought in by a local pig farmer. As I picked out the one I wanted, the butcher said, “You realize that these hams have not been cured.” No, I did not. I asked for him to explain.
He told me that most of the hams that you buy have already been both cured and cooked—so they’re ready to eat. But he was selling leg joints—the part of the pig from where we get our hams—which had not been cured, let alone cooked. And in order for them to get that classic salty, sweet taste of ham, they would have to be cured first before baking.
My grandparents have told me stories about the hams their parents used to slow cure in the smokehouse. This ham, which after being coated in salt, sugar and black pepper, was hung and left to develop for almost a year. And the result was a delicate, supple meat similar to prosciutto. This is what’s known as country ham.
But the hams that we more often see at the grocery store have been cured in a wet brine for only a few days and then cooked, which leaves it with a more juicy yet chewy texture. This is what’s known as city ham. I don’t have a smokehouse nor do I have a cold basement to cure a country ham, so I decided to make a city ham instead. And you know what? It’s pretty darn easy!
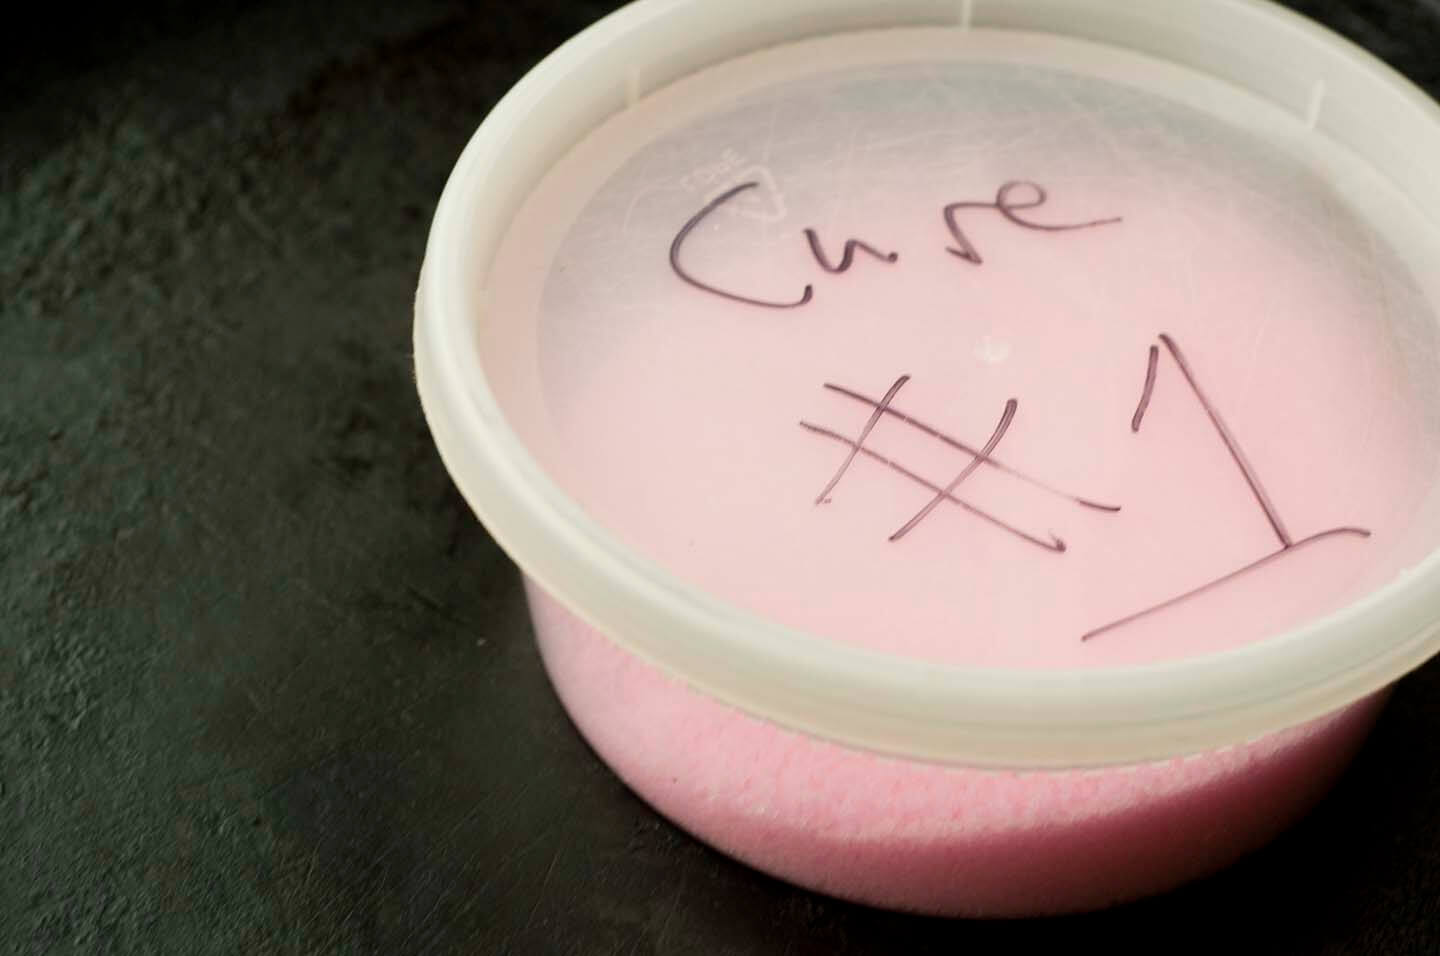
My butcher pointed me towards Michael Ruhlman’s recipe, which calls for simply water, brown sugar and salt. You also use a bit of Insta Cure No. 1 (also known as Prague powder or pink salt, though do not confuse it with Himalayan salt), which is a mixture of regular salt and sodium nitrates, along with added pink coloring so you won’t mistake it for table salt. Be careful with Insta Cure, however, as it can be poisonous in large quantities, (and my butcher would only give me some if I promised not to kill anyone). But in small amounts it helps the ham keep its pink color and prevents botulism from forming.
Once I had my ham, the second challenge was finding a food-grade plastic receptacle large enough to hold the meat as it brined. You can’t use a metal container because the salt can break down its surface, causing your meat to become toxic (while ruining your pot as well). Many people use ice chests; I ended up buying a plastic food container that could hold over a gallon of water yet was narrow enough to fit in my refrigerator.
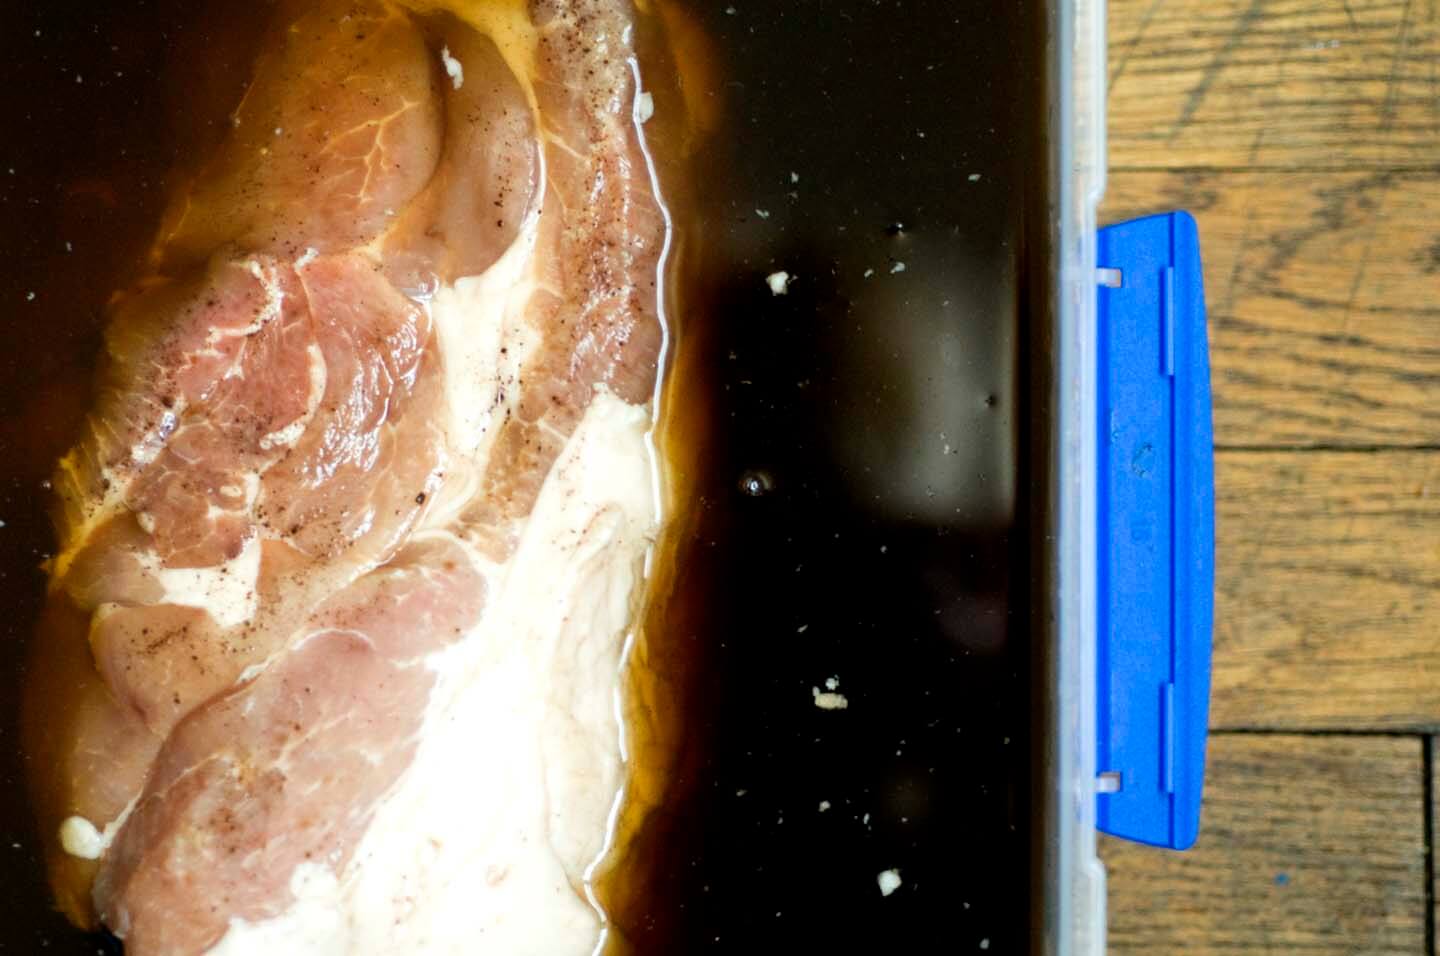
Making the brine was simple, though I changed the basic recipe by adding some cloves and molasses and substituting turbinado sugar for the brown. I stuck my ham into the liquid, sealed the container, stuck it in the fridge and then waited.
Common wisdom states that a ham should be wet cured for one day per every two pounds. After this period I also soaked it for one more day in clean water to remove some of the excess saltiness.
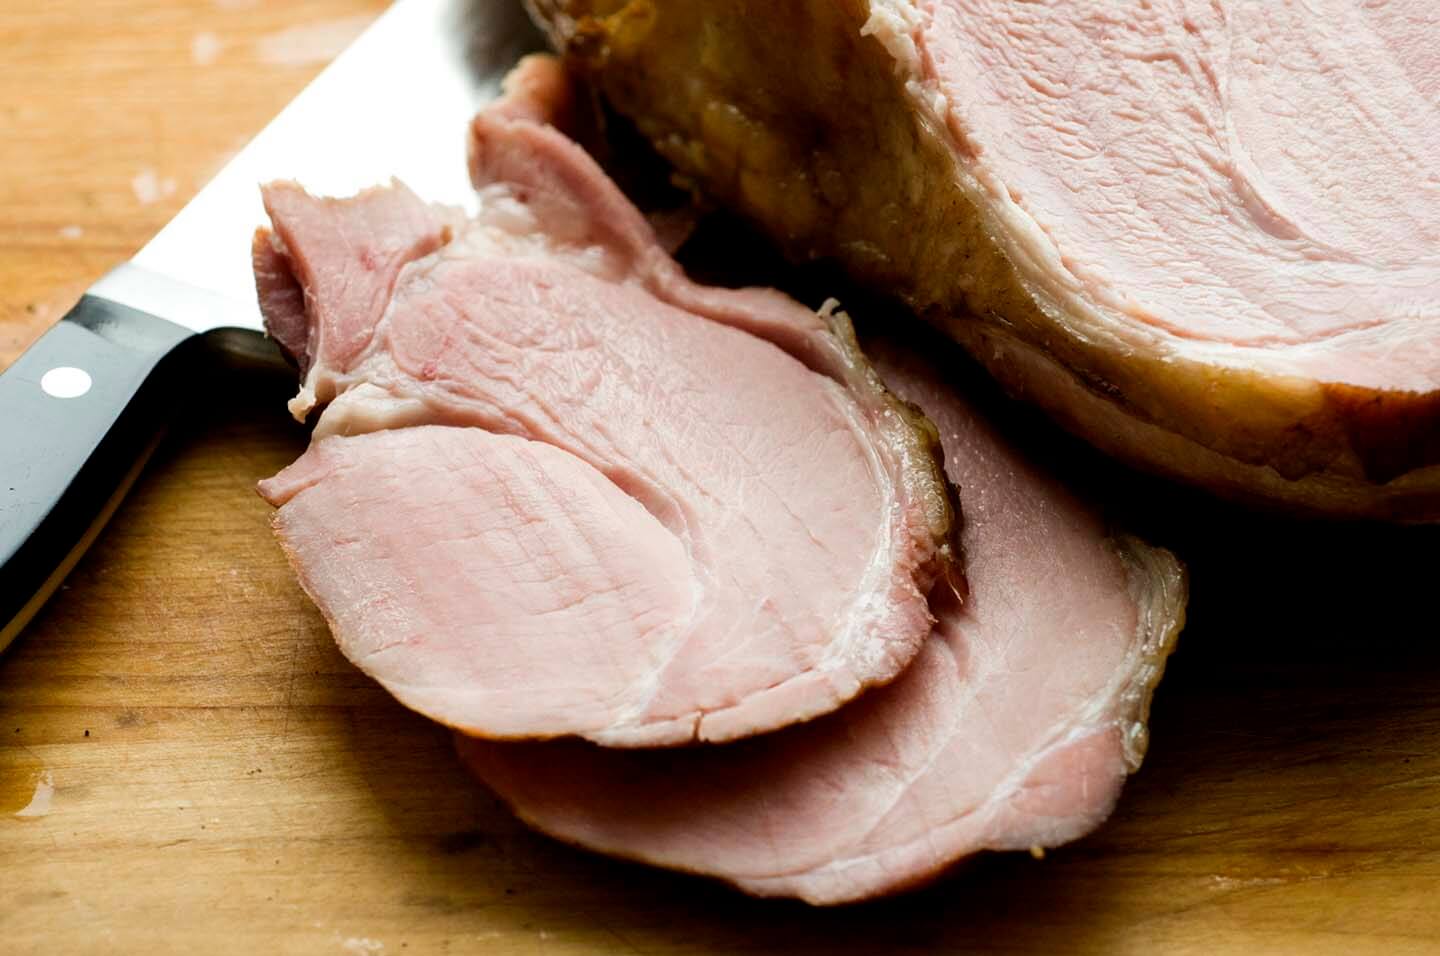
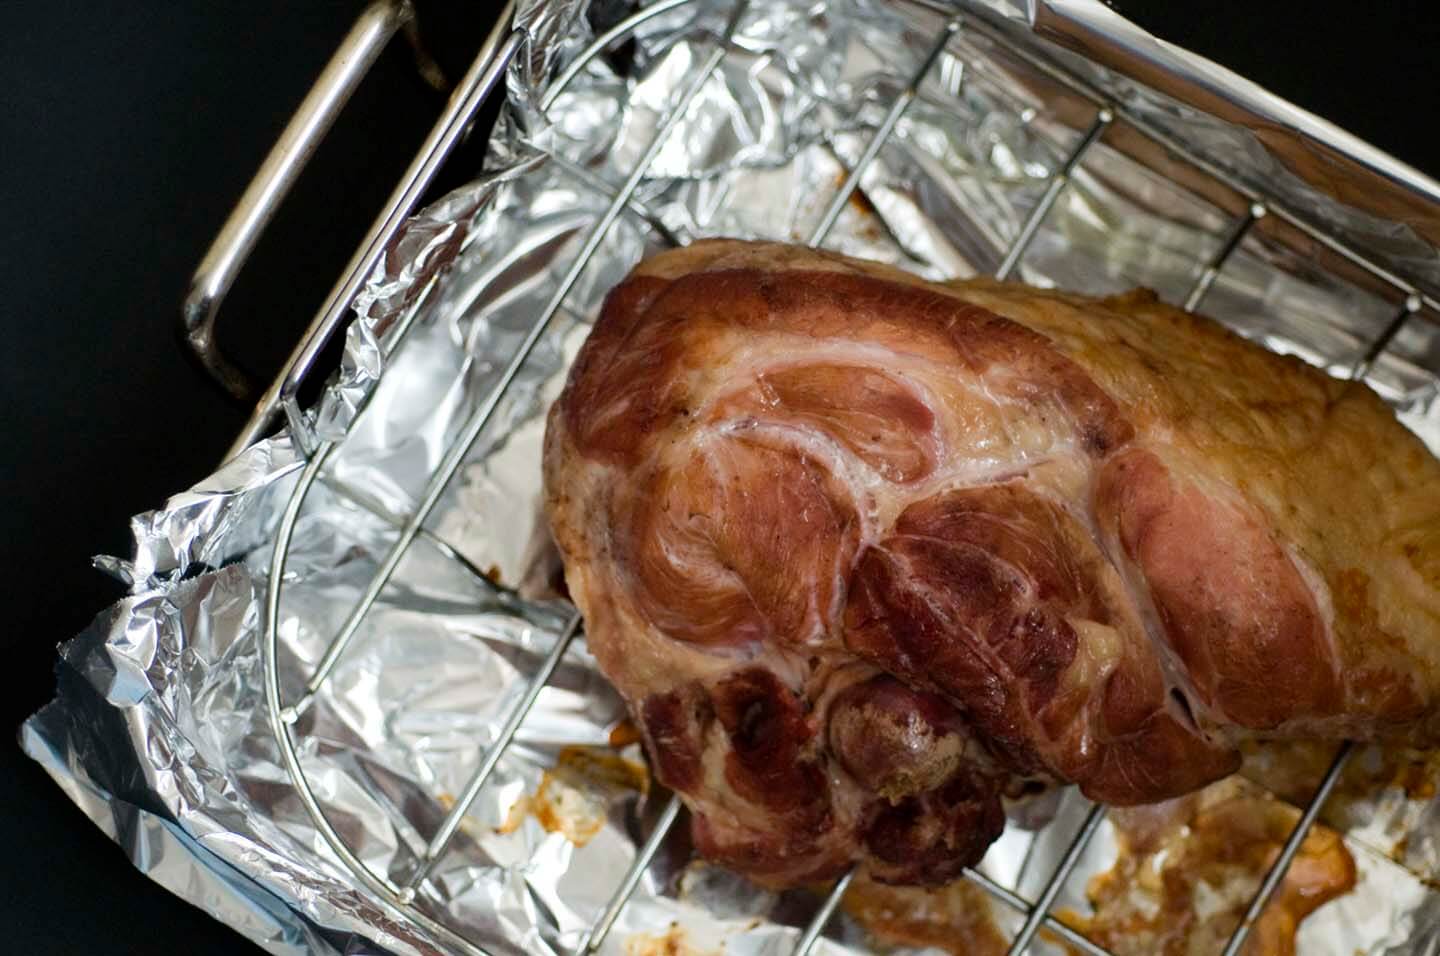
I baked it for a few hours until the internal temperature was 150 degrees, then I pulled the ham out of the oven. It certainly looked like ham with its rich rosy color. And it certainly smelled like ham as well. I cut off a slice and took a bite.
The texture was tender and juicy, with a flavor both salty and sweet nicely punctuated by the spicy depths of the cloves. I cut off another slice and another. I couldn’t stop eating my ham—it was that good. It was definitely one of the best city hams I’d ever eaten, so wonderful, in fact, that it didn’t even need a glaze—it was ready to be sliced and served as it was.
I highly recommend you give wet-curing a try. Seriously, you’ll never buy a canned ham again. And just think how impressed everyone will be when you serve a slice and say, I made this!
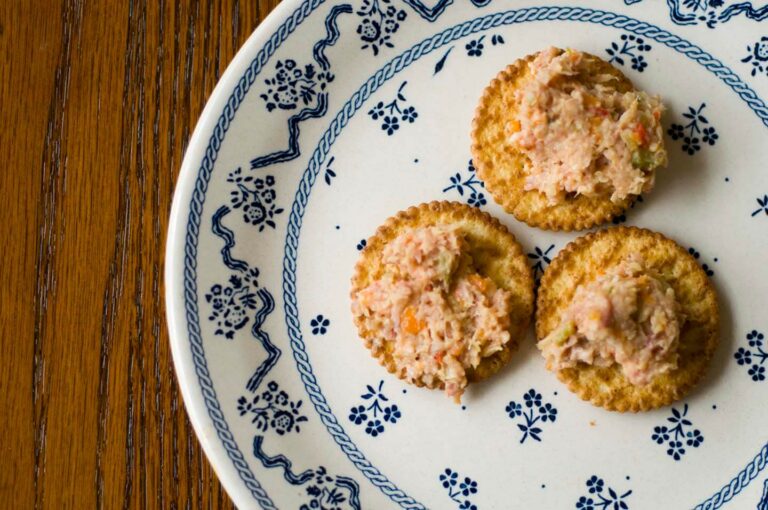
Do you have a favorite glaze? One new favorite is this brown sugar and coffee-glazed ham. And what what do you like to do with leftover ham? Me? Ham salad.
—————
Would you like more Homesick Texan? Well, I’ve started offering additional recipes for paid subscribers to help with the costs of running the site. While I’m not taking anything away, if you’d like to support Homesick Texan and have access to exclusive, never-seen-before subscriber-only posts, please consider becoming a member; annual subscriptions are as low as $25. Thank you for reading, your consideration, and your support!
—————
How to cure a ham
Ingredients
- 1 (5-pound) ham, uncured and uncooked
- 2 litres of water
- 3/4 cup kosher salt
- 1 cup turbinado sugar
- 1/4 cup molasses
- 1/4 teaspoon ground cloves
- 1 tablespoon Insta Cure No. 1 pink salt
- A plastic container large enough to contain the ham but small enough to still fit into your refrigerator
Instructions
- Place your ham in the plastic container that you’ll be using to cure it. On a stove, heat up the water with the salt, sugar, molasses, and ground clove, just until the salt and sugars have dissolved. Stir in the pink salt then pour over the ham, adding more water as needed to cover the ham by 1 inch. If any parts of the ham bob above the surface of the brine, place a ceramic plate on top to weigh it down.
- Place the container in the fridge, and keep it there for 3 days, or roughly 1 day for every 2 pounds. Halfway through the brining process, turn the ham over so all parts of it will be submerged.
- After the brining is done, rinse the ham and let it soak refrigerated in clean water for 24 hours.
- To cook the ham, bake it in a foil-lined roasting pan at 325° F for 30 minutes per pound or until the internal temperature is 150° F. (I recommend not doing it on a rack as I did because it leaves strange impressions on the meat.)
- When done, slice and serve.


hi.. I am curing a ham with your recipe as we speak. Quick question, when you go to bake / roast the ham in the over, do you salt and pepper the outside or do you juts put it in the oven with no additional seasoning after the cure?
I saw your glaze recipe and it looks great. I will also try that but I don’t want to over sale or season.
thanks
I leave it as it then glaze it later, but I think a nice pepper rub would be delicious!
Just put two hams in your recipe! I needed quiet a bit of extra water to completely cover them as one was 8.5# and another 10.5#. I’m really hoping these turn out well as this is my first time curing meat…make me so nervous! Let the count down begin!
Tracy–You got this. Happy ham curing!
Do you allow the brine to cool before putting it over the ham ? I have the brine heating up right now .
Ashlie–Since you’re immediately refrigerating it and not bringing the water to a boil, it’s not necessary. You can if you wish, though.
I would like to smoke the ham after curing. What is your recommendation?
Kathleen–While I can’t speak from personal experience because I’ve never smoked one, the recommendation is to smoke it for 15-20 minutes per pound.
If you want to reduce your container size try dry curing the meat instead of using a brine. Same spices but reduce the Cure to 1 teaspoon per 5 lbs of meat and flip meat every 2 days to ensure an even cure. You can still use the molasses but you might want to reduce the amount as the flavor will be more intense, even better wait till baking to rub it on the ham.